The new website is already buzzing with activity, and here is yet another news blog concerning yet another team of the Stratos II project; the Capsule & Recovery team.
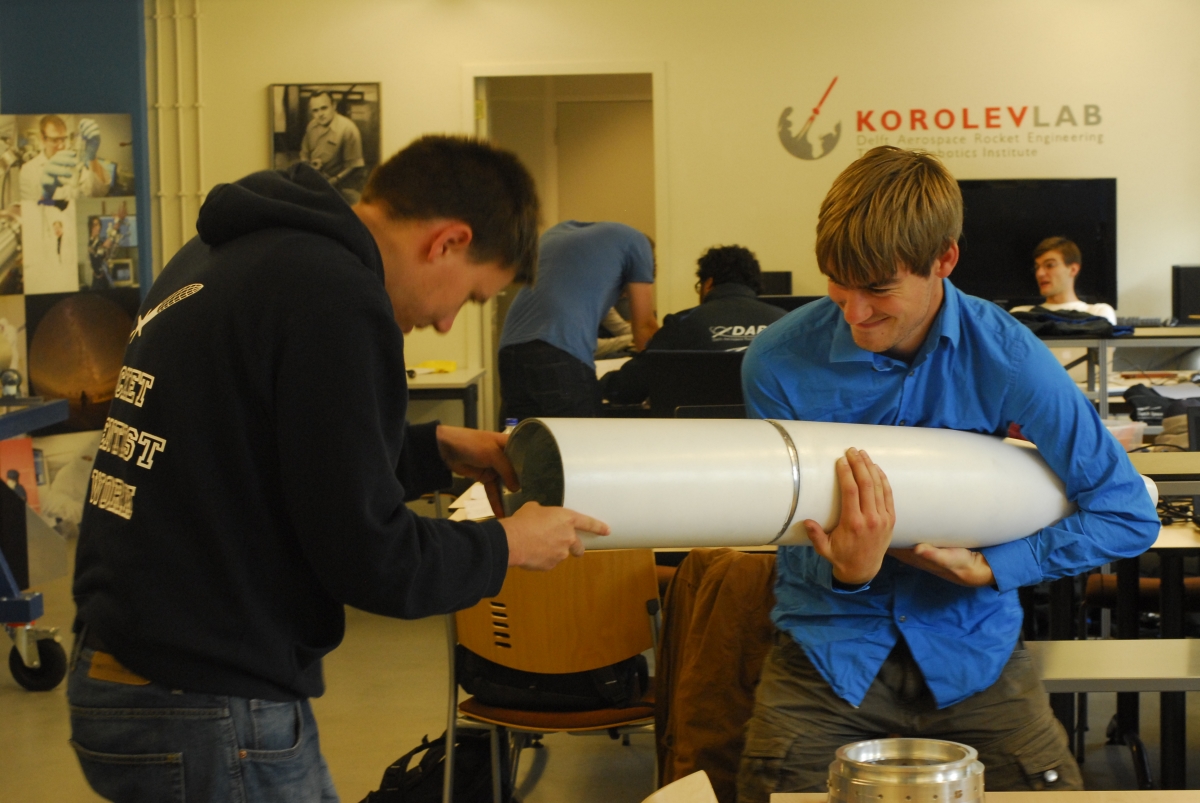
Two Capsule members, doing what Rocketeers do…
The past few weeks we have performed considerable rocket-craft in our workplaces and the composites lab of the faculty of Aerospace Engineering. The main objective was to finish the glass fiber-epoxy nosecone. There are several permanent and removable connections between this composite and the rest of the rocket. All of these require an aluminum insert to be adhesively bonded to the inside of the glass fiber components, with the purpose of reducing the stress concentrations caused by the bolts.
Since these rings have to transfer the structural loads, the adhesive connection had to form a quality weld that would not seem out of place in a professional aerospace application.
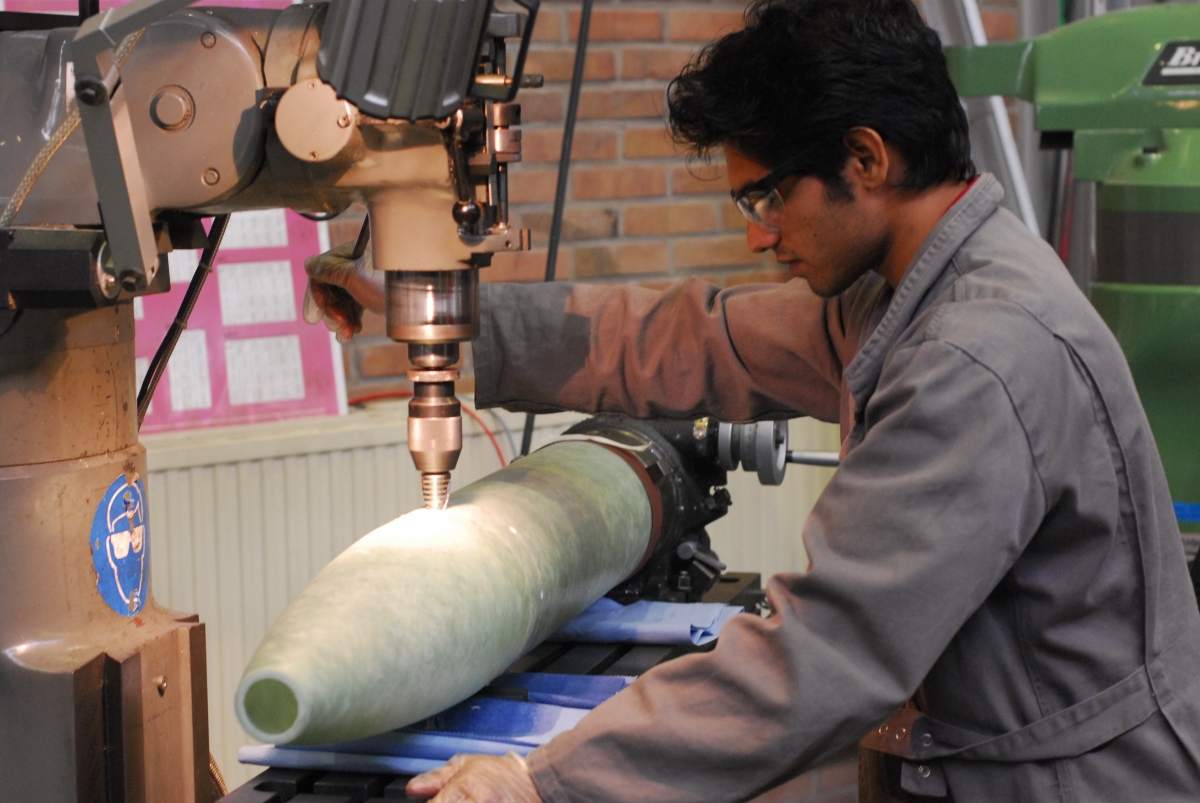
To achieve this, the choice was made to apply the adhesive by pressurized injection. For this purpose the nosecone received 4 carefully drilled holes. It was then de-waxed, washed, sanded (with scotch brite) and de-greased with heavy duty, aerospace grade removal agents until the surface was no longer water repellent. The aluminum inserts received a 0.25 mm deep grove on the surface to be glued and were then sand blasted to increase the surface area of the bond. After washing, both the composite and the aluminum rings were put in the oven at 80 degrees to bake out any absorbed water.
Then the rings were carefully positioned in the composite and then secured and sealed with tacky tape. The injection pistol was willed with 100 gram of thermoset adhesive and pressurized to about two bar. The glue was then injected through one of the holes into the grove of the insert, where the adhesive slowly spread throughout the ring.

Aluminum inserts sealed off with tacky tape
Unfortunately the required pressure was underestimated. As a consequence the first ring was only partially filled before the adhesive started curing. The remainder of the first ring was successfully filled the next day after drilling one extra hole for injection near the old adhesive front. It was then decided to raise the applied pressure to 6 bar for the remaining inserts. Little did we know that the tacky tape would give away at these pressures…
Soon we discovered that the adhesive was spreading everywhere EXCEPT where we wanted it to go. With the aid of the lab assistants we managed to get the inserts out and clean the adhesive spill before it cured (No lab assistants were hurt during this event. In fact, they received a box of chocolates for their rescue). After cleaning up the spills (and several cups of chocolate milk to get over this frightful event), the process was thought over. The aluminum inserts were brought back to the lathing machine to add some chamfers to the edges and were again cleaned, sanded and degreased. After re-positioning and securing with a few drops of epoxy, these chamfers were filled with a thin line of the thermoset glue that was left to cure overnight to seal the edges considerably tighter. The next morning all of the remaining rings were successfully injection molded in one go, just in time for the start of the weekend.
Skillful drilling with a differential drill bit
When the adhesive was cured, it was safe to drill and counter-sink the rivet holes needed to structurally connect the composite to the bulkheads and other components.

Capsule member mounting a bulkhead to the payload bay
Currently the capsule team is tuning the assembly procedures of our over-constrained components while catching up the three days delay caused by the adhesive bonding campaign.